Deploy Diagramo on Ubuntu 14.04
by yaobin.wen
Overview
I’m trying to add an in-browser workflow editor for the project I’m working on. After searching online for a while, I decided to give Diagramo a try for several reasons:
- It is a complete in-browser editor solution. Although JointJS looks more appealing, I suspect it is not more than a programming library and I would still have to do a lot of programming to implement an editor.
- Its user interface is simple yet sufficient for my demonstration purpose.
- It is implemented in PHP, one of the most popular web technology which has strong community support.
In this article, I’ll record down the steps I took to deploy a Diagramo editor locally.
The primary reference I used is this article: How To Install Linux, Apache, MySQL, PHP (LAMP) stack on Ubuntu 16.04. For the sake of simplicity, I’ll refer to this article as [1]. Although this referred article is based upon Ubuntu 16.04, most of the steps are also valid on Ubuntu 14.04 which is the one I used.
Deployment Steps
Step 01: Install Apache2
The installation can be done with the steps below:
- Open a terminal.
- Run the command:
sudo apt-get update - Run the command:
sudo apt-get install apache2
Then we need to set the global ServerName to suppress the syntax check warning. Follow the steps below:
- sudo emacs /etc/apache2/apache2.conf
- Insert the line
ServerName 127.0.0.1at the end of the file. - Save and close the file.
- Run the command:
sudo apache2ctl configtest. You should see the following output:
Syntax OK
- Restart the Apache2 service by running:
sudo service apache2 restart.
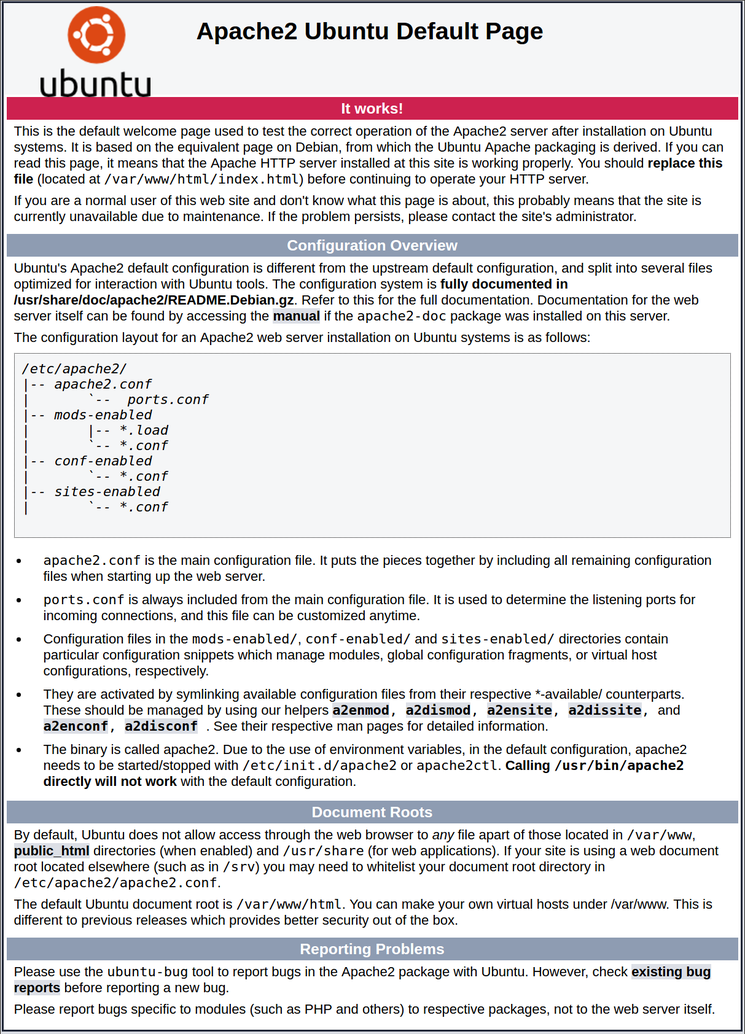
Finally, open a browser window and type 127.0.0.1 in the address text box. We should be able to see the Apache2 Ubuntu Default Page:
[1] says we need to configure the firewall to allow the Apache traffic. Because we will be using Diagramo in the local environment, the firewall configuration can be skipped for now.
Step 02: Install PHP
According to this AskUbuntu answer, because PHP is not included in Ubuntu’s standard package repositories, we must add it manually:
- Run the command:
sudo apt-add-repository ppa:ondrej/php - Run the command:
sudo apt-get update
Then we can run the following command to install PHP and the related sutff:
- Run the command:
sudo apt-get install php libapache2-mod-php php-mcrypt php-sqlite3
[1] suggests we modify the order in which Apache searches for the source files. After all of the installation above, the file /etc/apache2/mods-enabled/dir.conf should look like below:
< IfModule mod_dir.c >
DirectoryIndex index.html index.cgi index.pl index.php index.xhtml index.htm
< /IfModule >
The file index.html takes the precedence over the index.php which is the one Diagramo provides. Sure, we can put index.php before index.html, but we can simply delete the index.html file if we are sure we’d like not to use it (and in the case of Diagramo, yes, we are sure we’ll not to use it). For now, we don’t need to do anything. I’ll later describe how to configure the /var/www/html directory to make sure index.php is properly used.
Step 03: Download Diagramo Source Code
You can find Diagramo’s source code on both GitHub and BitBucket. It’s up to you which one you prefer to use.
You can either check out the master branch of the code or download it. For simplicity, we’ll just download the source code.
Suppose the source code is downloaded and unzipped into ~/Downloads/diagramo-master/. You should have the following directory structure at this moment:
[~/Downloads/diagramo-master/]
|– web (This is the directory we’ll use later.)
| – COPYRIGHT.txt
| – LICENSE.txt
| – README.txt
| – etc…
Step 04: Move Diagramo to Apache Web Root
Follow the steps below to install Diagramo to Apache’s web root directory which is /var/www/html:
- Run the command:
sudo cp -r ~/Downloads/diagramo-master/* /var/www/html/ - Run the command:
sudo mv /var/www/html/index.html /var/www/html/index.html.old
By changing the index.html to index.html.old, we make Apache unable to find index.html so it will use index.php provided by Diagramo instead.
Now open a browser and enter 127.0.0.1 in the address bar. You should be able to see a Welcome to Diagramo installation page:

Step 05: More PHP Configuration
To install Diagramo successfully, we must do some additional PHP configuration.
In the browser, enter 127.0.0.1/info.php in the address bar, then you should see the details about the Apache service as well as the PHP configuration. You need to pay attention to the following entries:
- Loaded Configuration File, which should be
/etc/php/7.1/apache2/php.ini, but it’s OK if it’s some other value. - short_open_tag, which should be
Offat this moment, and we’ll turn it on soon.
Now let’s make the configuration changes:
- Run the command:
sudo emacs /etc/php/7.1/apache2/php.ini. - Search
short_open_tagand you should be able to find a lineshort_open_tag = Off. Change it toshort_open_tag = On. - Search
sqlite3and you should be able to find a line;extension=php_sqlite3.dllwhich is an extension configuration entry for a Windows DLL but commented out. Add a new lineextension=sqlite3.soright below this line. - Save and exit the text editor.
- Run the command:
sudo service apache2 restart.
Then we need to give /var/www/html/editor/data/ the write access because Diagramo requires this:
- Run the command:
sudo chmod -R 777 /var/www/html/editor/data
Step 06: Finish Diagramo Installation
At this moment, all the needed configuration is done. We can finish Diagramo installation and start to use it. Follow the steps below:
- In the browser, the
Welcome to Diagramo installationpage should be currently displayed. - Click “Next” to check the requirements. Make sure they are all passed.
- Set up an administrator account. Then click “Next”. Note that Diagramo does not ask you to confirm the entered password so you must be very careful.
- Click “Next” to confirm the installation completion.
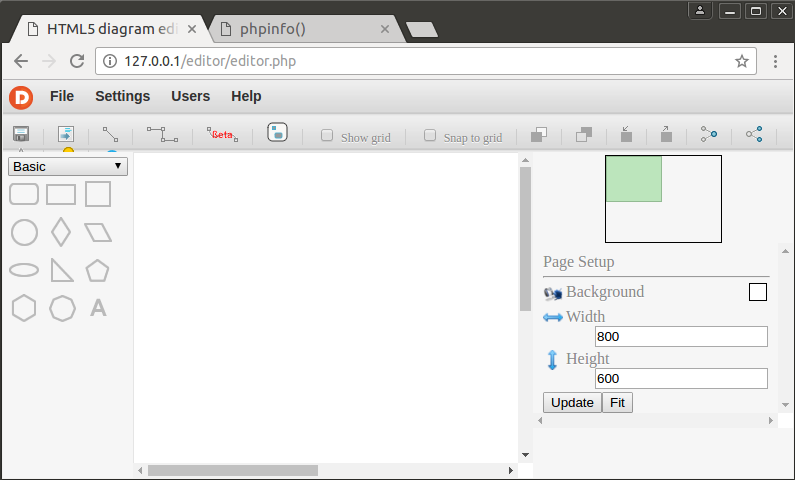
- Log in with the newly created administrator account.
- You can start to draw your own diagram.